Summary:
Plenty of homeowners in Nassau County have pulled off a successful DIY paver project. Plenty of others have spent a second weekend undoing what they built the first weekend. The difference usually isn’t effort — it’s knowing what the job actually requires before you start. Paver installation isn’t just about laying stones in a pattern. It’s about what goes underneath them, how water moves across your yard, and whether your base can survive a Long Island winter. Get those things right, and your patio or walkway holds up for decades. Get them wrong, and you’re looking at sunken pavers and drainage headaches by spring.
How to Install Pavers in Nassau County's Soil and Climate
Most DIY paver guides are written with sandy or loamy soil in mind. Here in Nassau County — especially in western communities like Elmont, Valley Stream, and Franklin Square — we’re dealing with clay-heavy soil that behaves completely differently. Clay holds water, compacts unevenly, and expands and contracts with temperature swings in ways that will shift a poorly prepared paver base within a season or two.
That means your excavation depth matters more here than it does in most markets. For a standard patio, you’re looking at 8 to 12 inches down. For a driveway, 12 to 16 inches is more appropriate. That’s not a suggestion — it’s what Nassau County’s soil and freeze-thaw climate actually demand if you want the surface to stay level.
Before any of that, call 811. It’s New York State law before you excavate, and in a dense suburban county like Nassau, underground utilities run in directions homeowners don’t always expect. It’s free, it takes a few days, and it keeps you safe.
What Skills Does DIY Paver Installation Actually Require?
The honest answer is that laying the pavers themselves is the easiest part of the job. Setting a pattern, tapping stones into place with a rubber mallet, keeping your lines straight with a mason’s string — these are tasks most handy homeowners can handle without prior experience. The work that determines whether your project succeeds or fails is the preparation underneath, and that’s where skill and patience matter most.
Base preparation requires you to excavate to the correct depth, add crushed gravel in layers and compact each one thoroughly, and then screed a one-inch layer of C-33 concrete sand to a consistent, level surface. Each of those steps has a way of going wrong if you rush it or skip it. Compaction is the step most DIYers underestimate. Running a plate compactor over loose gravel isn’t complicated, but it has to be done in stages — typically two to three passes over each layer — and it has to reach the full depth of your base. A hand tamper won’t cut it for anything larger than a small accent area.
Drainage planning is the other skill that separates a good installation from a future problem. Every paved surface needs a slope — one inch of drop for every four feet of run, directed away from your house. In Nassau County, where flat lots and clay soil already limit natural drainage, getting that slope wrong doesn’t just look bad. It can redirect water toward your foundation or create pooling that accelerates freeze-thaw damage to the base. If your yard already has drainage challenges, that conversation needs to happen before you start digging, not after.
The sand layer deserves a specific mention because this is one of the most common and costly mistakes in DIY installations. The bedding layer under your pavers needs to be C-33 concrete sand — coarser, angular, and specifically graded for this application. Play sand is too fine and too unstable. It compresses unevenly under load and creates the exact soft spots that cause pavers to sink. It’s a small detail that makes a significant difference.
How Long Does DIY Paver Installation Take in Nassau County?
A realistic timeline for a 200 to 400 square foot patio project — from first shovel to final sand sweep — is two to four full days for a capable DIY homeowner working with a helper. That accounts for excavation, base prep, laying, compaction, edge restraints, and polymeric sand. It does not account for the time it takes to source materials, arrange tool rentals, or troubleshoot problems that come up mid-project.
The physical demand is real. Excavating 10 inches of clay soil is hard work, especially in Nassau County where the ground doesn’t cooperate the way sandy soil does. Moving and spreading crushed gravel, operating a plate compactor, and hauling pavers from your delivery pile to your work area adds up quickly. This isn’t a reason to avoid the project — it’s a reason to plan honestly. If you’re doing this in late spring to have a patio ready for summer, give yourself a realistic window and don’t try to compress a four-day job into a single weekend.
The optimal installation window in Nassau County runs from April through October. Spring is the most popular time for a reason — homeowners come out of winter, see what the freeze-thaw cycles did to their existing surfaces, and want to get ahead of it before summer. Polymeric sand — the jointing material that locks your pavers in place — requires dry conditions and temperatures above freezing to cure properly. Don’t start a project in November and expect to finish it in December.
One thing worth knowing before you commit: if your project involves significant changes to how water flows through your yard — French drains, permeable paver systems, or regrading around a foundation — that work adds complexity that goes beyond a standard paver installation. Those situations are worth a conversation with someone who knows the local conditions before you break ground.
Paver Installation Tools Every Nassau County DIYer Needs
The tool list for a paver installation is longer than most people expect when they first start planning. Some of it you likely already own — shovels, a wheelbarrow, a tape measure, a four-foot level. The critical piece most homeowners don’t own is a plate compactor, which rents for roughly $80 to $100 per day from local hardware stores. Budget for at least two rental days to give yourself room if the project runs long.
Beyond the compactor, you’ll need a screed board and screed guides to set your sand layer at a consistent one-inch depth, a rubber mallet for seating pavers, a push broom for sweeping in polymeric sand, and edge restraints to secure the perimeter. If your design includes cuts — around curves, at borders, or fitting pavers against a wall — you’ll also need a masonry saw or diamond-blade angle grinder. Cutting pavers by hand is not practical at any meaningful scale.
Professional Paver Installation vs. DIY: What's the Real Cost Difference?
The numbers are straightforward. DIY paver installation typically runs $12 to $17 per square foot in materials. Professional installation — labor and materials combined — runs $20 to $27 per square foot. On a 400 square foot project, that’s a potential labor savings of $3,200 to $4,000. That’s real money, and it’s a legitimate reason to consider doing it yourself.
But the full picture includes a few things that don’t show up in that comparison. Tool rental adds cost — figure $80 to $100 per day for the plate compactor, plus potential masonry saw rental. Material waste from cuts typically runs 5 to 10 percent above your calculated square footage, so budget for that upfront. And if something goes wrong with the base — wrong sand, insufficient compaction, incorrect drainage slope — correcting it after the pavers are laid means pulling them up and starting over. That scenario costs more than professional installation would have from the start.
The cost comparison also looks different depending on which pavers you’re using. Cambridge pavers with ArmorTec® come with a fully transferable limited lifetime warranty — covering structural integrity and color — that stays with the home if you sell it. That’s not a feature you’ll find on big-box store pavers, and it changes the long-term math on your investment. The ArmorTec® surface is dense and non-porous, which means it resists water absorption and handles Nassau County’s freeze-thaw cycles significantly better than standard concrete pavers. You’re not just buying a product — you’re buying durability that holds up in this specific climate.
For homeowners on the fence, the honest question isn’t just “can I save money doing this myself?” It’s “can I execute the base preparation correctly enough that the savings hold?” If you’re confident in the process, have the time to do it right, and are working with a manageable project size, DIY is a legitimate path. If the project involves drainage complexity, heavy clay soil with standing water issues, or a surface area above 500 square feet, a professional installation is worth the additional cost.
Where to Source Your Paver Materials in Nassau County
Where you buy your materials matters more than most DIY guides acknowledge. The quality of the pavers, the accuracy of your material calculations, and the logistics of getting heavy materials to your job site all affect how the project goes — and how it holds up over time.
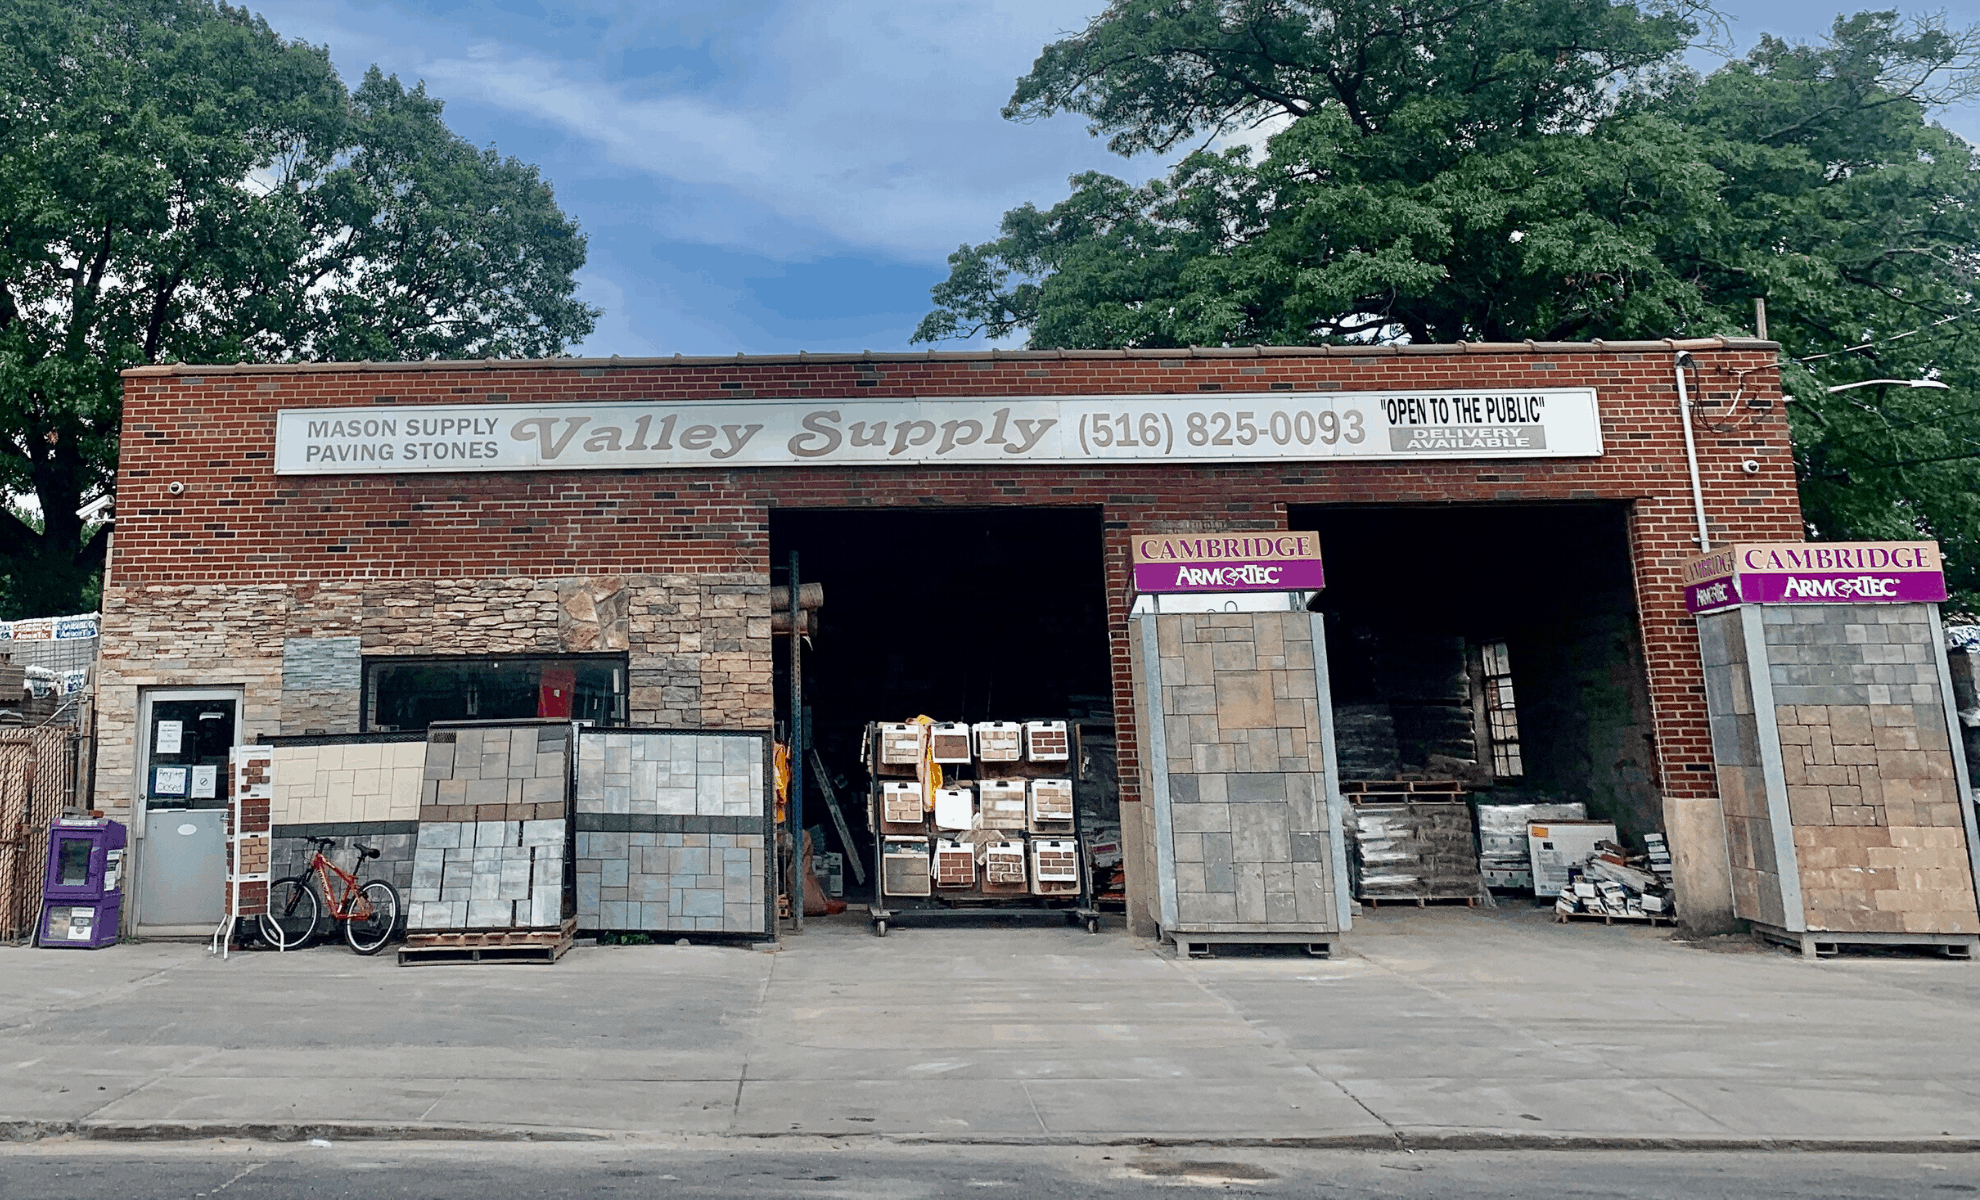
We’ve been supplying Nassau County and Queens homeowners and contractors from our location at 747 Meacham Avenue in Elmont since 1956. When you walk in, our team — with over 50 years of combined counter experience — will calculate exactly how much crushed gravel, bedding sand, and pavers you need. We account for waste, your specific pattern, and the conditions of your site. That calculation is part of our service.
As a Premier Cambridge Dealer, we carry the full Cambridge Pavingstones line, including the ArmorTec® products that are specifically designed for the Northeast climate. Our 20,000 square foot facility has hands-on wall and paver displays so you can see the actual product at scale before you commit to a color or style. Online photos don’t give you the full picture. Walking through a real display does.
We also deliver. Pavers are heavy, and a 400 square foot project involves a meaningful amount of material. If you don’t have a truck that can handle it, our delivery service brings everything to your job site. And if you get partway into a project and decide it’s more than you want to take on, we maintain a short list of vetted local contractors we can connect you with — so you’re not starting over from scratch.
Is DIY Paver Installation Right for Your Nassau County Project?
The skills required for a successful paver installation are learnable. The process is manageable for a homeowner who plans carefully, uses the right materials, and respects what Nassau County’s soil and climate actually demand. Base depth, proper compaction, correct sand, drainage slope — get those fundamentals right and the surface work follows naturally.
Where projects go wrong is almost always in the preparation. Cutting corners on excavation depth, using the wrong bedding sand, skipping the plate compactor — these are the decisions that show up two winters later as sunken pavers and drainage problems. The good news is that all of those mistakes are avoidable with the right information going in.
If you’re planning a paver project in Nassau County and want to talk through what your specific yard requires — soil conditions, drainage, material quantities, or which Cambridge product makes sense for your project — stop by Valley Supply Corp on Meacham Avenue. We’re open Monday through Friday from 7AM to 5PM and Saturday from 7AM to 2PM. Bring your measurements. We’ll handle the rest.